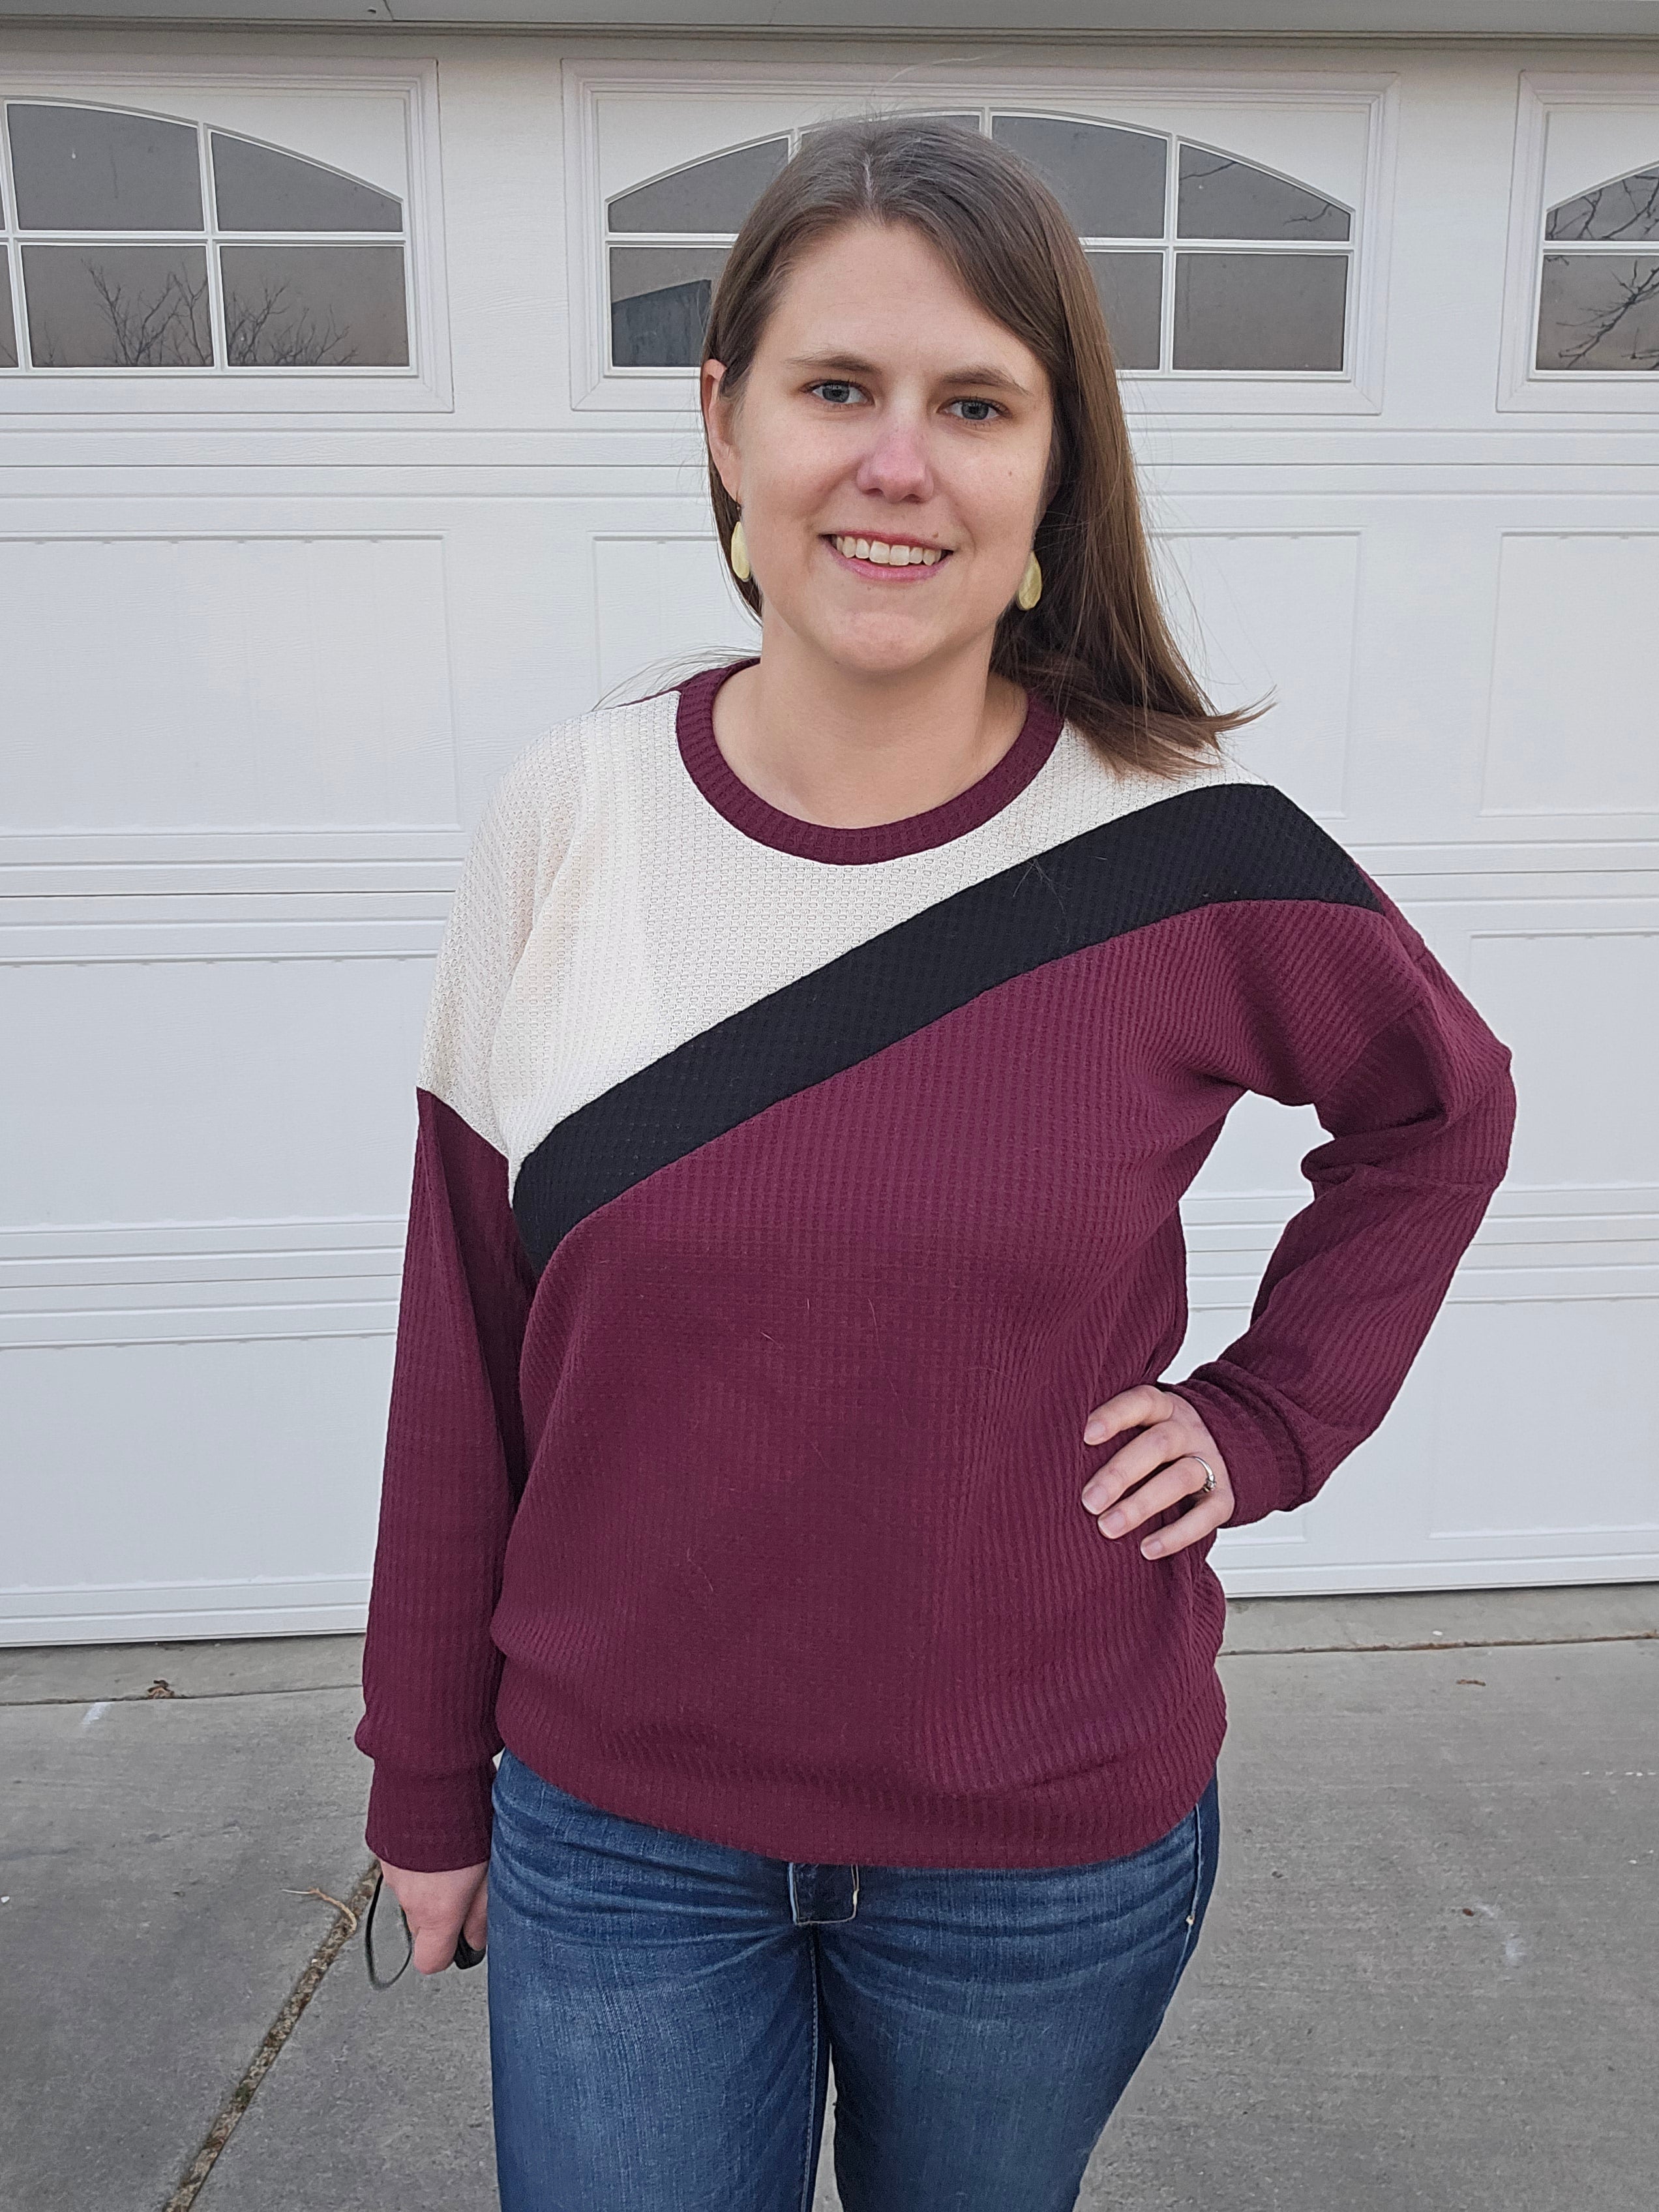
Hi all! I am super excited to share with you this easy, quick hack to make the Be Smart Jumper to a pinafore style dress!
I have made this pattern the regular way a few times before, in fact my first was my first ever “proper” clothing item I made for myself! I knew that I could make it work so jumped in and winged it. Hopefully with the few photos I took along the way, and a little explanation, you will be able to replicate the hack yourself.
The process
Step 1 – this is the easiest part, construct your Be Smart Jumper Dress as you normally would, following the instructions included in the pattern. Remember that where you place your front straps will indicate how wide your bib panel on your pinafore will be, so move them in/out for a narrow/wider front bib. I made mine so it was sitting on the front of my boobs as I’m not very large chested and this felt comfortable for me, it is just your personal preference. You do not want them too wide that they slip off your shoulders so you can always clip into place and move them around to the desired placement before stitching. My dress was made with the high waist option, remember you will need to add more length to the bib panel we create if you use the low waist option.


Step 2 – I measured from the top of the waistband, under my bust, up and over my bust to roughly where I wanted the top of the bib to sit. I didn’t want it too high that it would be up to the collar or too low that it didn’t cover my chest well, again it is a preference thing for the most part. I then measured across the straps to determine the width of the bib part, including the straps so the bib panel can sit on the straps, rather than just between them, as I think this looks nicer and also is more secure. Remember to add seam allowance to all sides of this bib piece. I cut my fabric to these measurements and hemmed the top of the panel with a zig zag stitch. This still needs to be a STRETCH stitch as the fabric will still need to have some give over the bust area.


Step 3 – clip the bottom of the bib panel to the top of the waistband, between and over the straps, right sides together. Sew these together, leaving a couple of mm either side unstitched, again using a STRETCH stitch, as it also still needs give. I used an overlock stitch (it sort of looks like a row of bunting), as it leaves a straight neat finish on one side but still stretches, backstitching at both ends to secure your stitches.
Step 4 – you should now only have 2 raw edges left, the 2 sides of the panel. Fold over your seam allowance so it lines up with the straps. Start at the bottom to gauge how much you need to fold over, clip and do the same width along the whole side. At the top, the corner is raw so I folded it into the seam allowance (see pic). Clip the side to the strap so the edges line up and zigzag stitch up the side, remembering to backstitch at the beginning to secure the stitches. With the needle still in the fabric, lift your presser foot and turn the fabric so you can sew across the strap, again remember to backstitch.


And that’s it! You’re done! It is really THAT easy! You could add a pocket to the panel piece before attaching to the dress. You could make the bib a different shape like a V or scalloped edge. There’s lots of fun to be had with it. I have tried to explain it as clearly as I can, if there’s anything you’re unclear of or need further help, feel free to drop me a message!


*This post contains an affiliate link, if you use this link to make a purchase I may receive a small commission.
(Written by: Leonnie Gillon)


