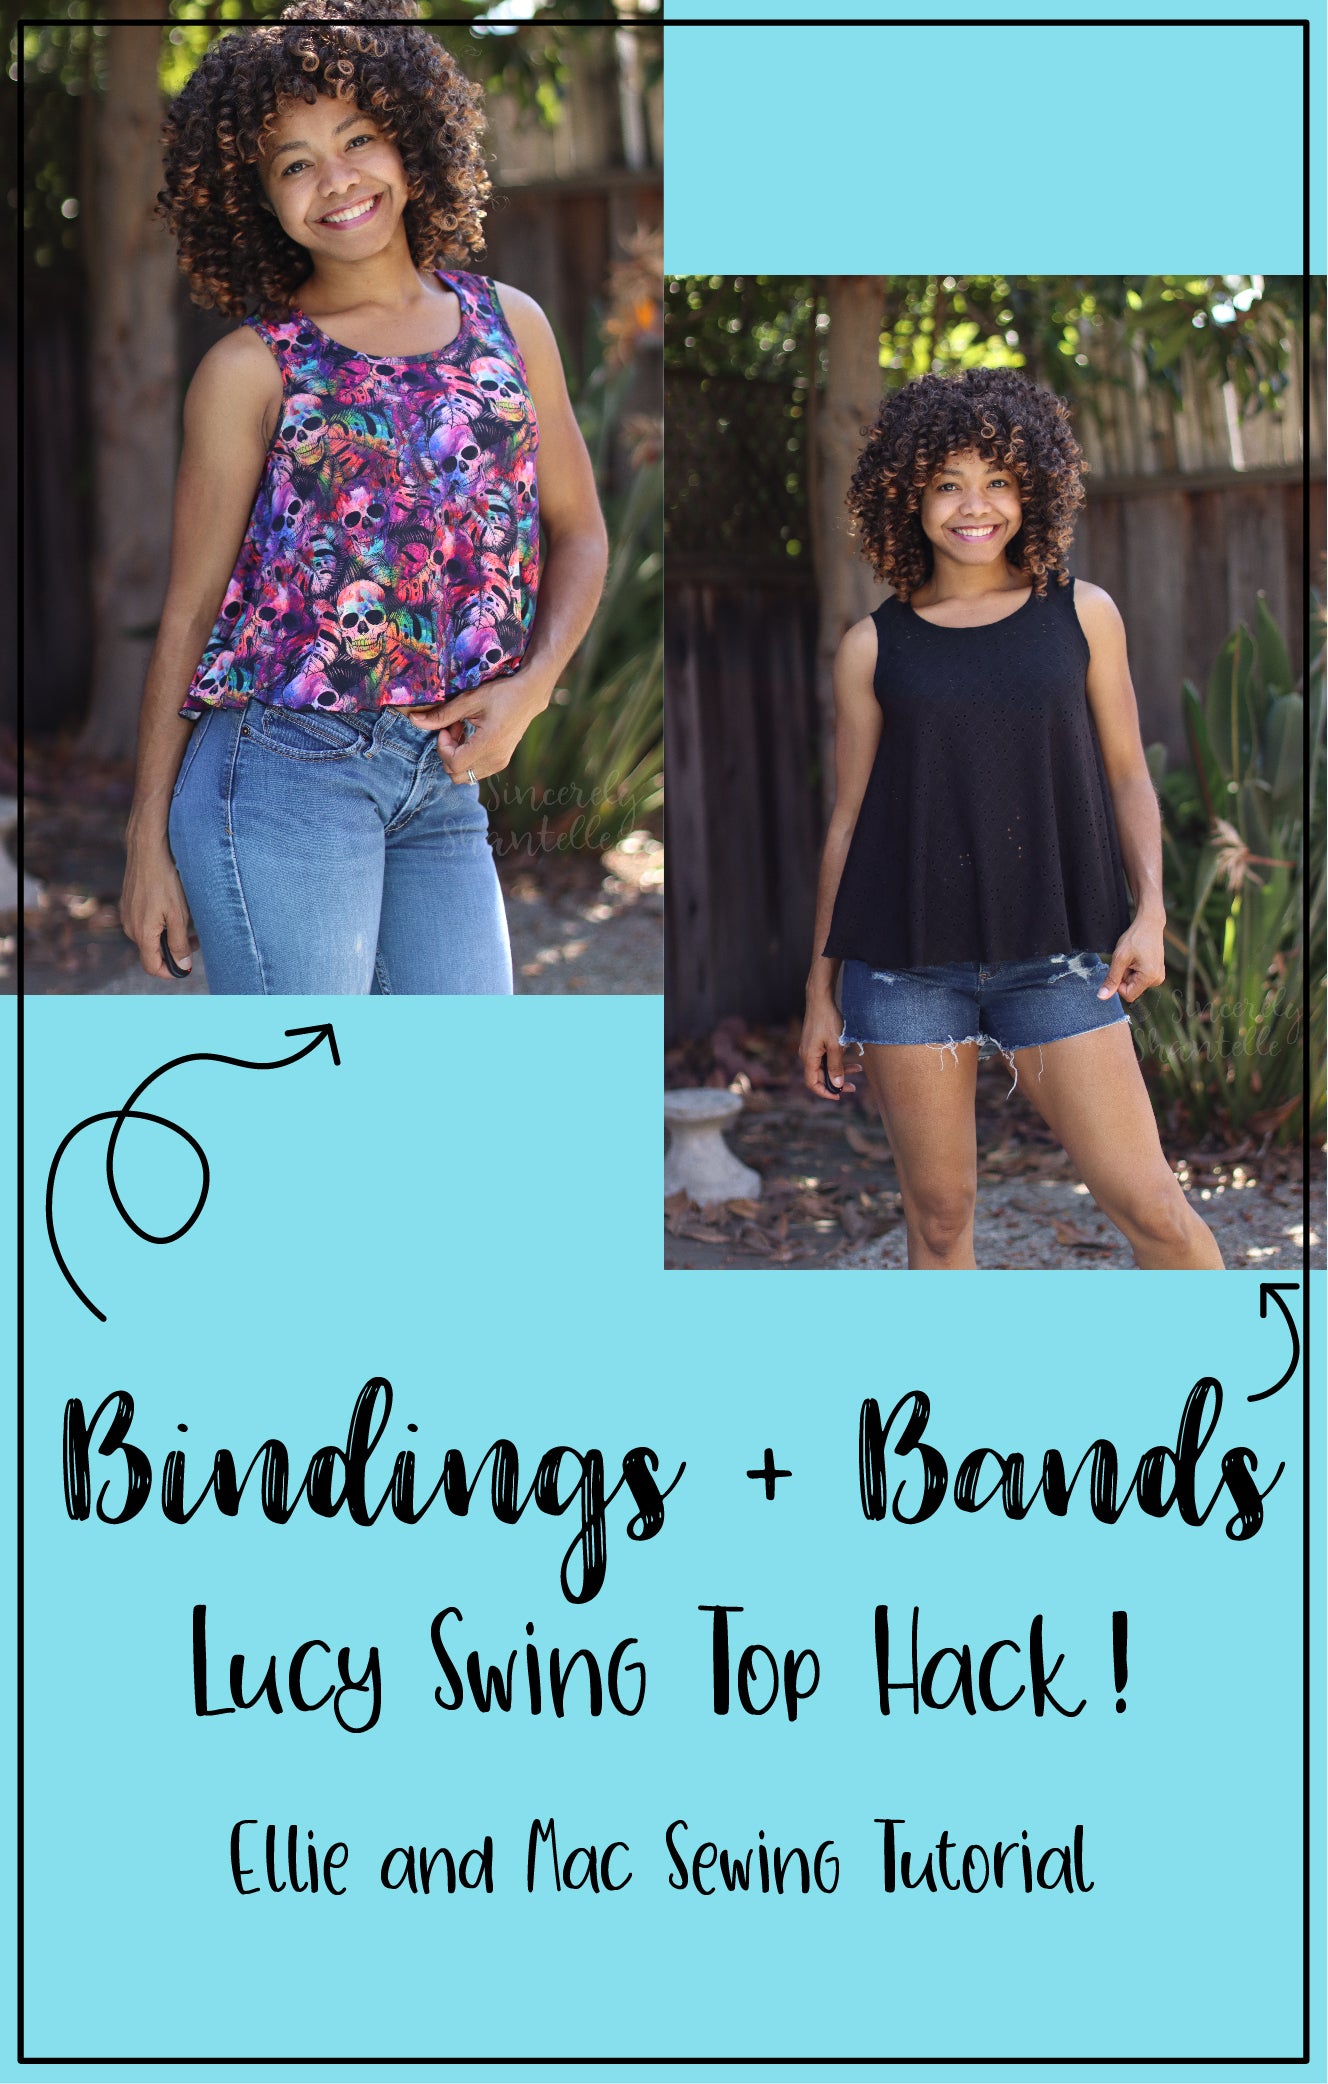
Welcome back to another really fun pattern hack! But wait! This one has a BIG twist…. we are going to upcycle a necklace! I know! So much fun! Let’s jump right in.
Supplies:
-
Tape
-
Paper
-
Ruler
-
Scissors
-
Rotary Cutter
-
Thread
-
Lightweight knot fabric (I used bamboo)
-
Machine of choice
For the pattern, you only need the body portion down to the hip area- no sleeves, no bands, no cuffs, no ties.
That means to only print pages 1-20 depending on your size.
By eliminating the sleeves, you create the cool “halter-style” (it’s not actually backless) neckline automatically. Which is why I like to use this pattern.
Assemble pattern in your usual way and make any size adjustments as normal.
Let’s make a few adjustments to the pattern. It looks like a lot, but trust me, they are easy and worth it!
-
Straighten the bottom.
Draw a straight line across the bottom that corresponds to where the top of the band will be plus a little extra to blouse over the band. I held the pattern up, marked where I wanted the top of the band to be and added 2ish” to the top so it blouses up a bit. I found this to be about 6” below my natural waist.
-
Straighten the sides.
Since the new design is a bit blousier than the current Cinch top, you will need to straighten out the sides. Simply add paper to the sides and draw a straight line from the tip of the arm to the hemline and trim, creating a new side seam line.

-
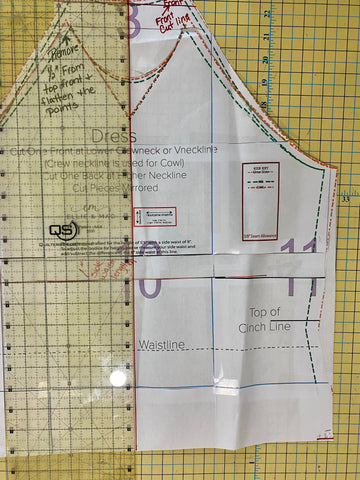
Straighten the back neckline.
The neckline needs to be straightened out as well.
Draw a straight line across the top points that mark the back of the bodice. See pic above.
-
Straighten the front neckline.
Draw a straight line across the top points marking the front neckline (ignore my note about the ½” to straighten out points, it’s from a previous mod).
Next, add a line 1” above the point line (be sure that your necklace fits between the 2 lines as this will be your casing, adjust as needed), draw a second line. This will be your cut line.
-
Cut pattern in half down the middle.
-
Since there are so many lines and words everywhere, I found it easier to tape clean paper to the back of these 2 pieces, re-draw and cut the entire piece. It only takes a minute and really makes things clear.

-
Notice that I added a seam allowance to the back piece. There will be a split in the top back that the necklace catch comes out. This will create that.
- The armsycle can be turned under and hemmed (this method could narrow the arm opening a bit. Consider adding ¼’ to this area to compensate for this), but I added facings just because I like the look. You could do binding, bands or hemming, really whatever you prefer.

Once all of your pieces are cut, LET’S SEW!
Adding Facings:
Place facing on front bodice right sides together (RST) and stitch using your preferred method. 

Flip facing to the back.
Iron a nice crisp edge and top stitch using your preferred sewing method. 
Trim the excess. 
Front piece should look like this now. 
Do the same for the 2 back pieces. 
Sewing the back together:
Place 2 back pieces RST. Measure from top down about 7”. This will become your back opening.

Sew using a stretch stitch on your sewing machine from the 7” point to the bottom.

Press the seam open folding back the seam allowance on the entire seam creating a hem for the opening area. Notice that I increased the SA near the opening to give me a little more fabric to turn under for a hem. I like to turn it under twice, so it finishes the edges off. Up to you. Next time, I will prob cut a ½” SA so this seam can be straight. Topstitch using your preferred method. Back is now 1 piece.

Fold the neckline top edge down ¼” (I use double sided wash away tape to hold this) and then a second fold that is ¾” to create the neckline casing on both front and back pieces. Stitch the casing down being sure that your necklace fits, adjust if needed. Caution: each adjustment affects the fit of the armsycle. You should be fine, the arm opening is pretty sizable, just something to keep in mind.

Sew front and back side seams together RST. Be sure to line up the corner of the armsycle exact as it will show under the arm. I pin it for extra support as my serger tends to move things around sometimes.


Add any size band that you like from any Ellie & Mac pattern or it’s easy to self-draft one. I measured one I had made previously and decided to cut 2 pieces, 12 X 16.5, and sew together at side seams. This is because I wanted to add rouching to the sides of the band for extra detail. Totally up to you though.
Pull the necklace through the casing with latch in the back. I bunched my front and back pieces up a bit, I think it looks good!
VOILE’ You have a very stylish on trend top!
BTW: You could use other things in place of the necklace, simply make a tie from the same or contrasting fabric, purchase any type of chain from the jewelry making department at the craft store (you will need to add a catch to it), any necklace you have - the possibilities keep going. I would love to see your creations and hear what you use! Be sure to post them and tag me!


(Written By: Suzanne Todd)