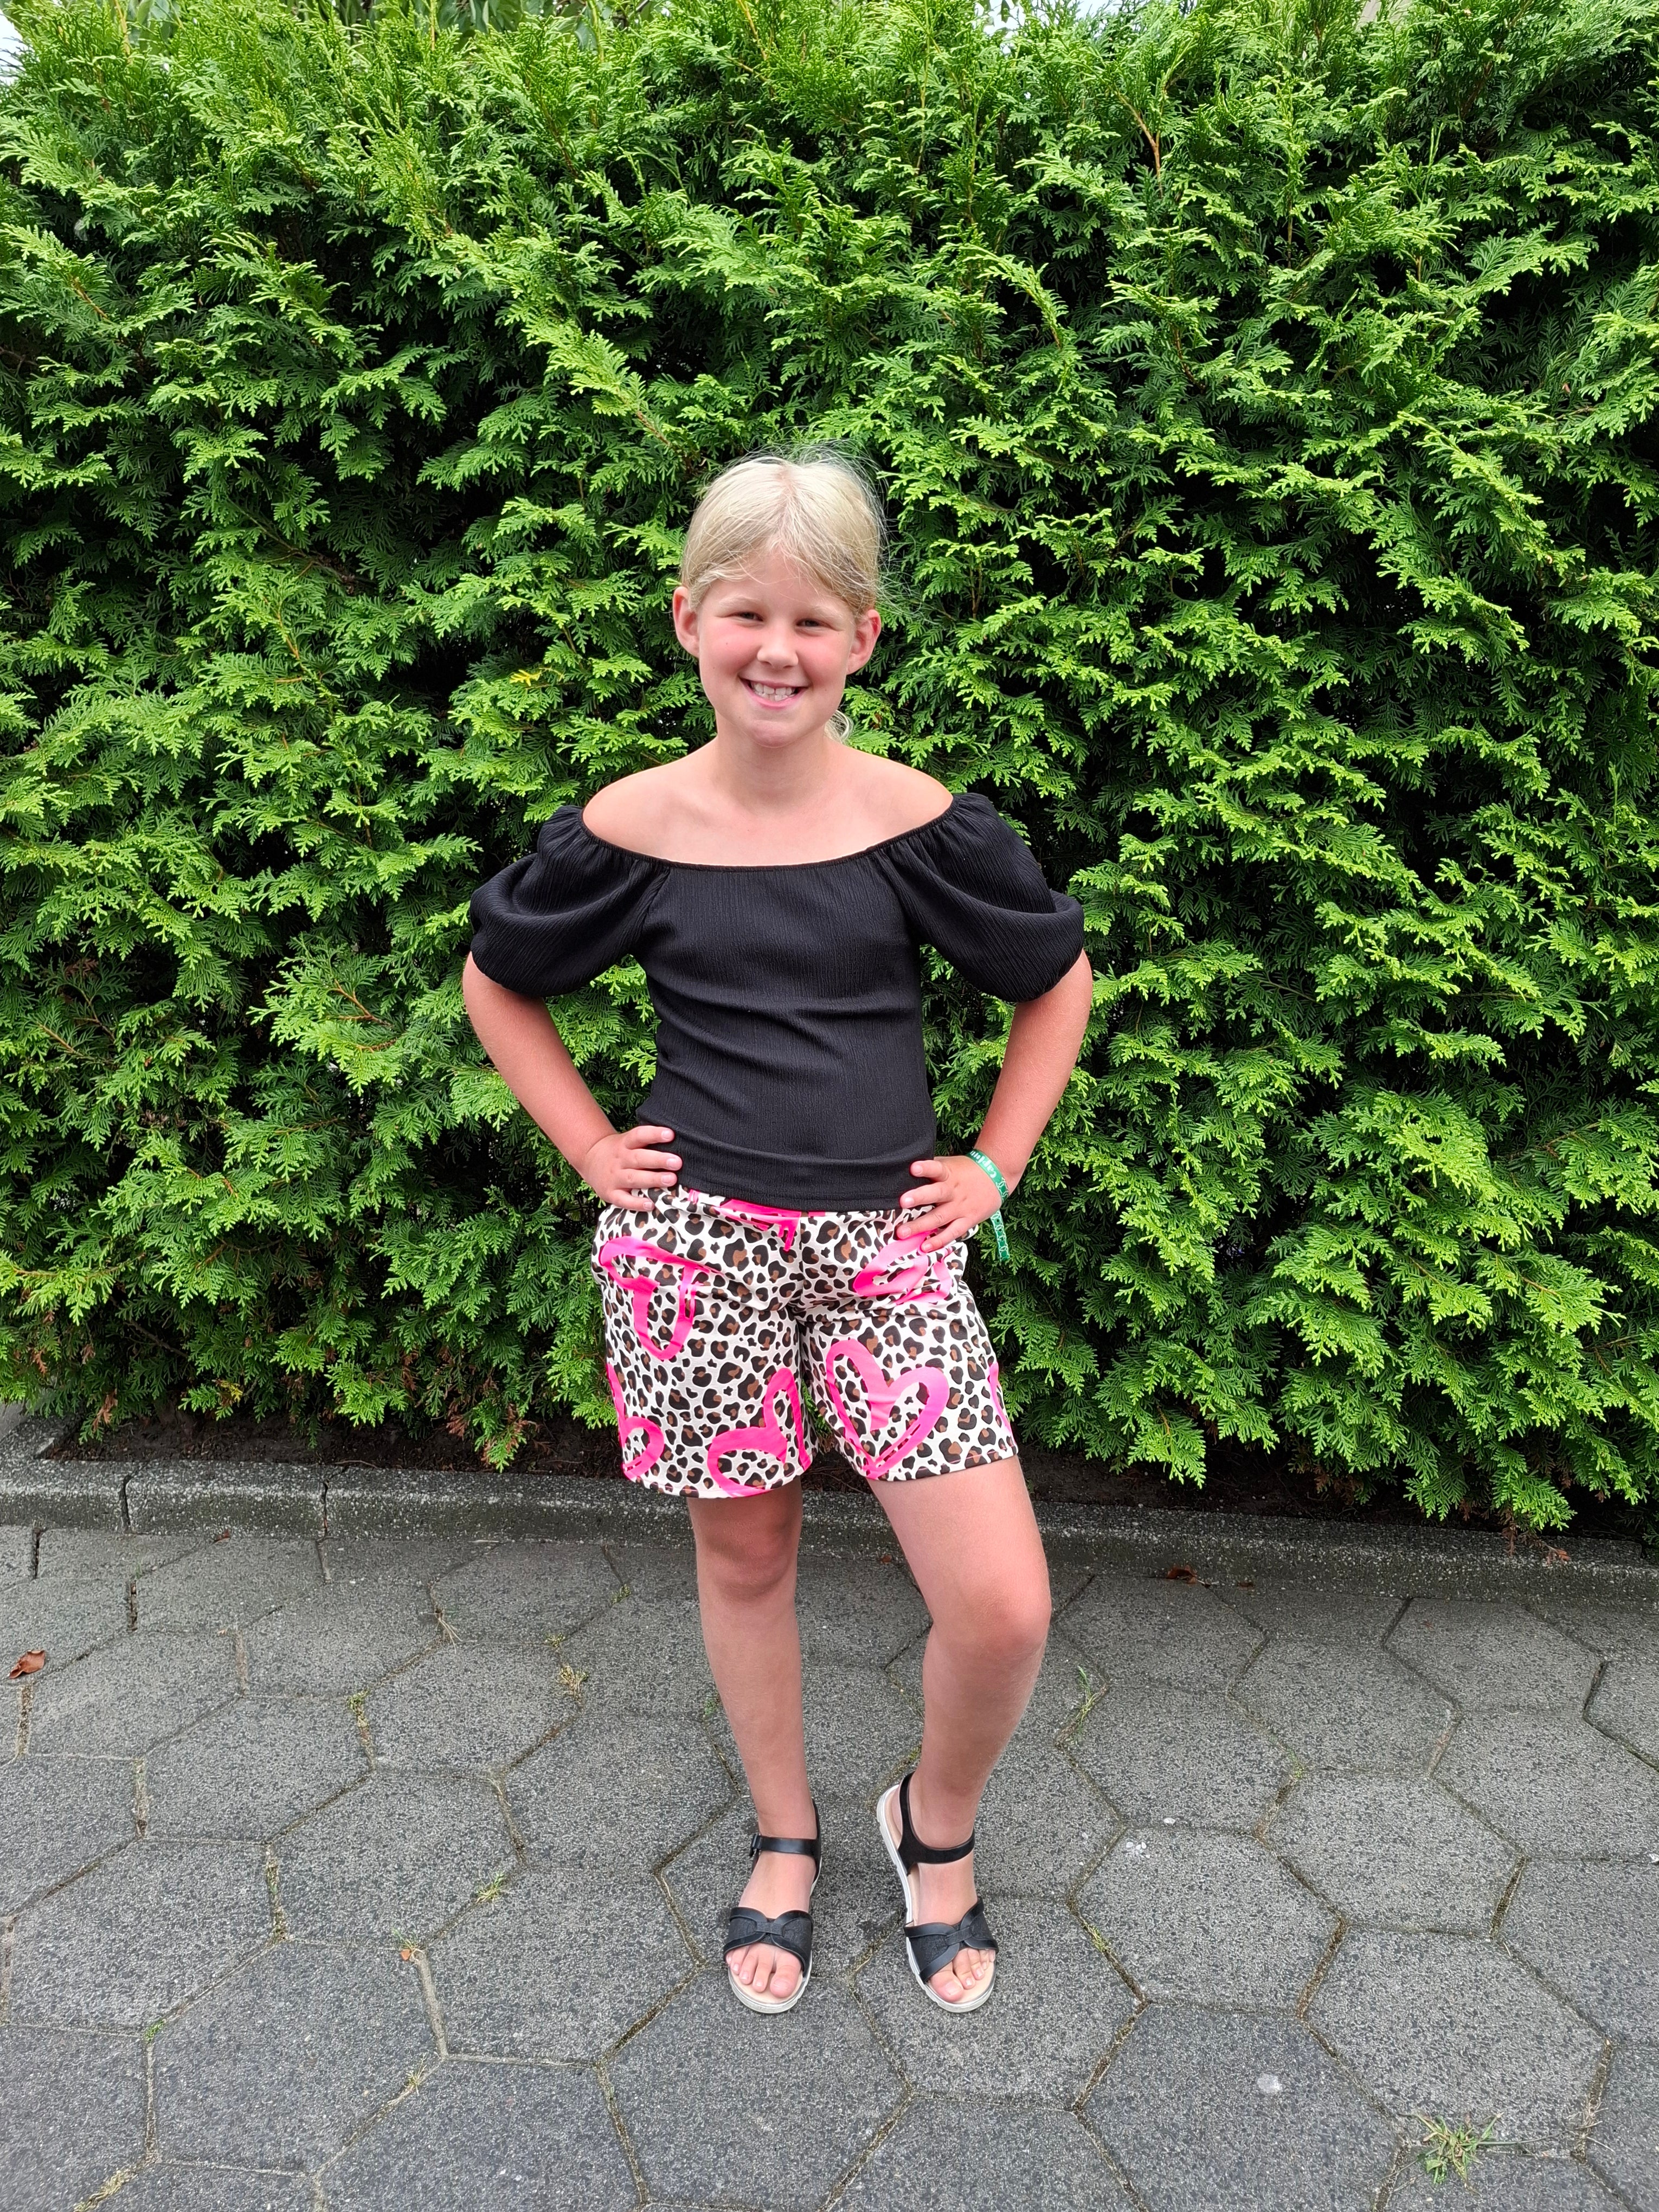
I've had the Fall In Love Sweater Pattern in my downloads for a while now, but had not had the chance to sew it up. Recently I finally made the sweater and it was love at first stitch. I love the fit and banded hem and sleeves. Here's the first one I made and since then I've made three more.

Even though I plan on making a lot more, I started thinking of ways I could make them differently without actually changing the fit. So what do we do when we want inspiration? We go to Pinterest of course! Today I will show you how to add a kangaroo pocket to the sweater pattern.

Its rather simple and it adds a little touch to your favorite sweater pattern. I'd like to disclose that I'm not a pattern designer and I'm just learning to make my own modifications. If you have suggestions or a better way to add a pocket, I'd love to hear from you! Now let's get to the fun stuff.

Tape together two sheets of paper to make a long piece to draft/transfer your pocket piece. You'll also need hem tape and pins.
- First use an existing pocket piece from another pattern, from a ready to wear sweater or draft your own. I tried drafting my own, but the first go around did not work for me so I simply copied the pocket from a RTW sweater. You can cut the pocket from the RTW and transfer it to paper. In my case, I didn't want to cut the pocket from the sweater so I traced it. Its hard to get the pattern piece accurately so I just used it as a guideline.

- Draft your pocket piece and add markings such as fold, direction of stretch, etc.

- The total length of the bottom of my pocket was 14 " and the top was 10 3/4. Keep in mind you will need to fold the edges of the pocket piece to hide the raw edges. I folded the edges about 1/4" (wrong sides touching) so account that into your measurements.
- Cut your pocket piece
- I used hem tape to fold the edges down to keep them in place while stitching it down. I used a 1/8" seam allowance to stitch the folded edges down, except the raw edge at the bottom of the bodice. That bottom edge will be stitched down when attaching the bottom bodice band.

- Fold your pocket in half and mark it.
- Its helpful if you've already made a sweater and you can place your pocket piece over it to get an idea if the pocket will work.
- You can proceed to cutting your bodice pieces. When cutting your front bodice on the fold, make a mark along the fold line just about the width of your pocket piece so you know where to place your pocket.

- Place your pocket on the front bodice and pin it down. Match the bottom of the pocket (raw edge) to the bottom of the bodice. After pinning the pocket down, baste the bottom edge of the pocket down so it doesn't move. Proceed to stitching the pocket but DO NOT stitch the side opening (that's where your hands go).

- I used a zig zag stitch along the edge of the pocket backstitching along the corners to secure it.
- Place the front bodice over you to make sure all looks good and continue with the instructions to stitch your sweater.
- Remember that you will secure the bottom edge of your pocket when attaching your band and basting it helps keep it secure.
Finally, you should be done! Your hands will thank you now that we're entering the cold months.
I love that you can use your scraps for the kangaroo pocket. I have a ton of left over scraps from project so I thought this would be the perfect time to incorporate those scraps. Most importantly, if at first you don't succeed, try again! The only way we're going to get better is to practice and learn from our mistakes.
Thanks for stopping by the blog today. You can find me over at My Sewing Roots.


