Hi sewing friends! I can’t believe 2022 is here – and just like 2020, it feels like 2021 lasted forever yet also slipped through my fingers. I didn’t get to finish all the sewing projects I started, or even start all the ones I had in my head. But there was one in particular that I really wanted to make a reality, so over my holiday break I tested it out. Today I bring you a blog post on how you can play with the sizing and length of the Going Home Sweater to create a totally different look with a cropped version. If you love this pattern as much as I do, read on for this easy option!
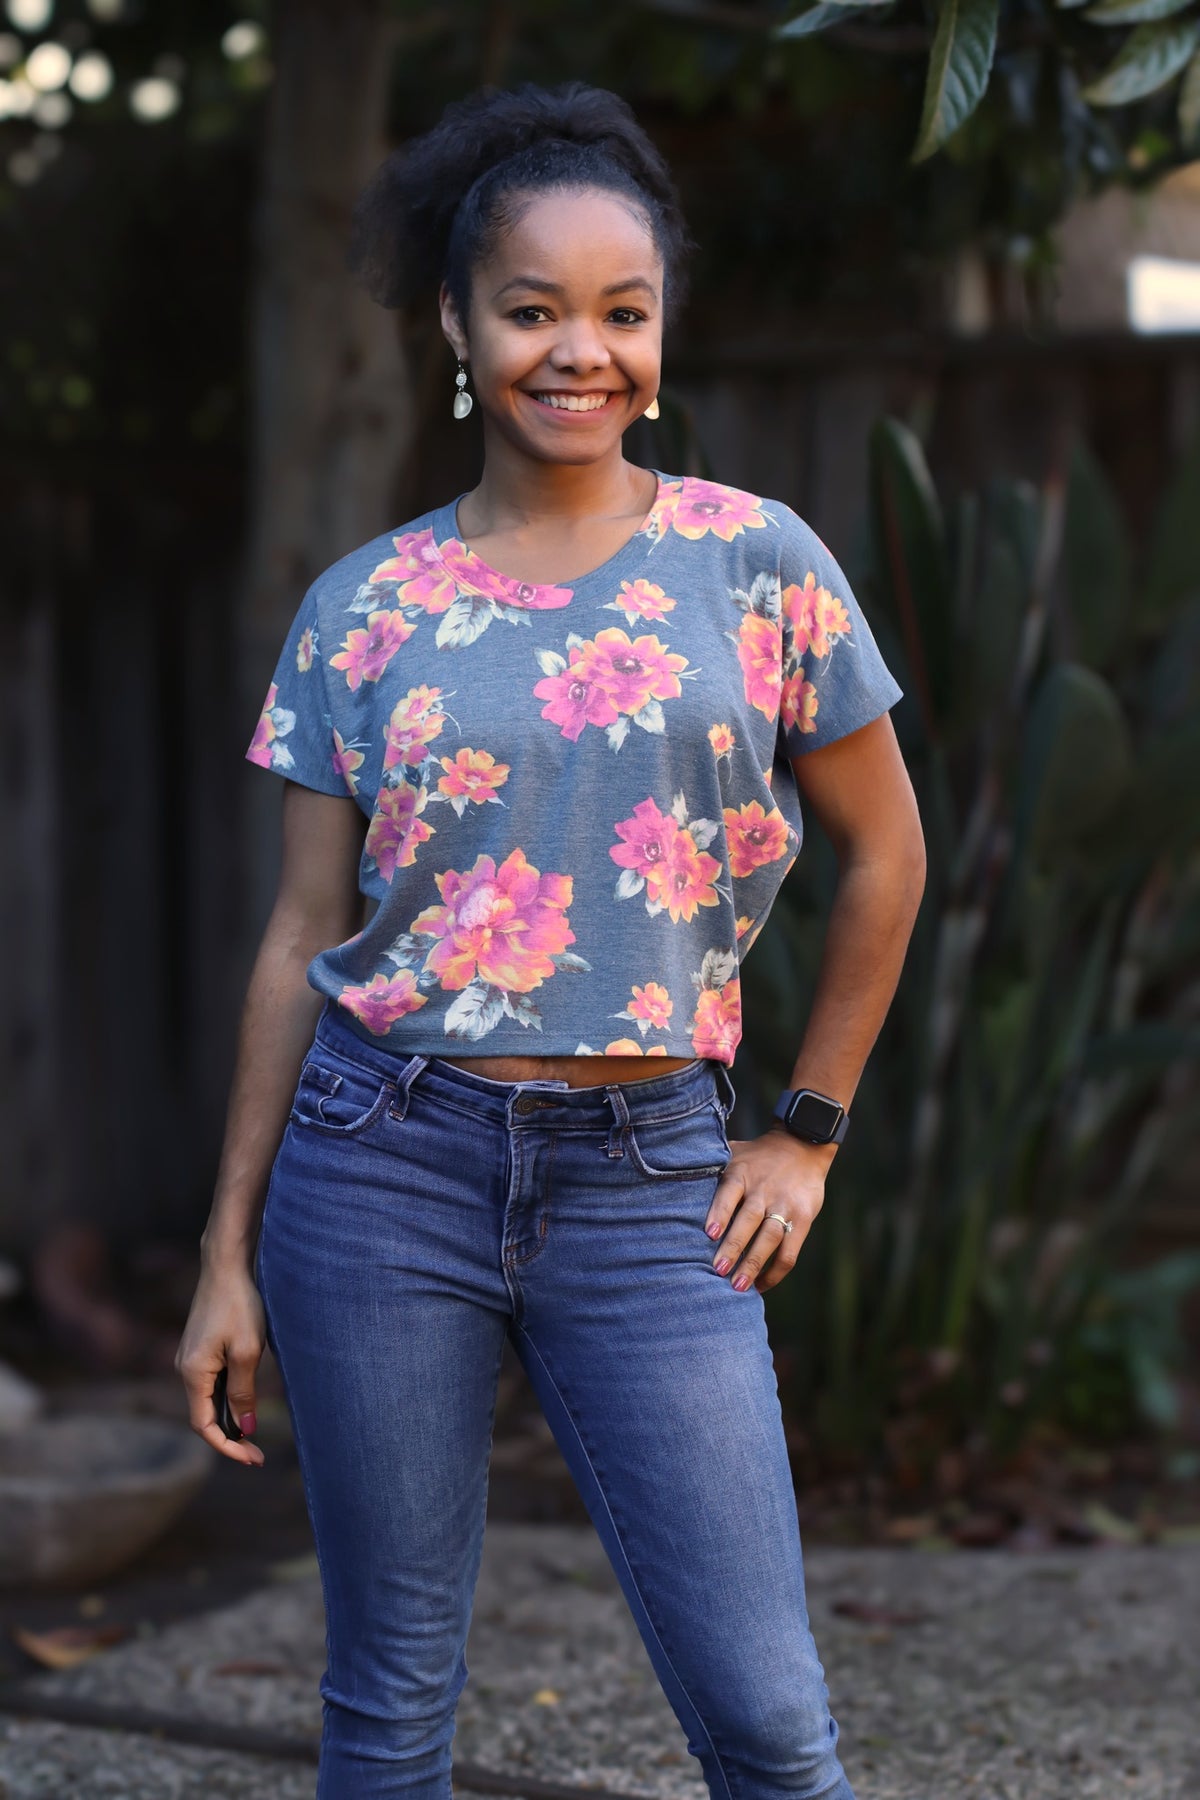
Now, when I say cropped, I should probably say “mildly cropped” or “subtly cropped”. I personally don’t love REALLY short tops as I don’t like to have my bare middle on display these days. But I do like tops that hit me a few inches below the belly button and just above the hip. The Oversized Tee pattern has some nice options for length including a cropped version, but I was going for a more structured look so I decided to play with the Going Home sweater. I came up with two different versions of differing lengths using different finishes, and to be honest, I can’t choose a favorite – I love them both!
Here is how you can easily recreate these looks if you want to load your closet up with some new versatile tops from one pattern.
First, decide how you want your new top to fit. I wanted a slightly looser fit than my true size for the Going Home top, so I sized up from a large to an extra large. But you could easily do this hack with your true fit since this top already has some ease.
Next, we are going to calculate how much you need to remove from the bodice pieces to achieve this shorter style. If you have one already sewn up, put on your Going Home sweater and decide where you want the bottom of your new top to hit – including the bottom band length. Mark that with a pin. If you don’t have one or don’t own this pattern yet, and if you are average height, you could use my calculation below for a muslin.
Then measure 2.5 inches UP from that mark to account for the height of the band. This second mark will represent the length of your new bodice piece. Measure the difference from this second mark to the end of your current bodice piece NOT including the band. This is how much you will need to remove from the bodice pieces to achieve the look. As reference, for my size XL top, I needed to remove 6.5 inches.
Now we are ready to cut our pieces! For now, the only change you will need to make for Version 1 above is to remove that length from your front and back bodice pieces. I use a projector for sewing so here is a photo of how I did it:

Cut out the rest of your pieces as is with no modifications (for now).
Before we assemble the top, we will need to remove some width from the waistband pieces, because remember – your top will no longer hit at the hips, so you have removed some width from the bodice as well as length. To adjust our waistband pieces, first measure the width of your new bodice. You can see below mine is 21 inches.

For my look, I actually wanted the band to be exactly the same width as the bodice opening, so I needed my band pieces to be the SAME width as the bodice. When I measured the band piece for the XL, it came up as 21 inches and the band was 21.5 inches. So I needed to remove ½ inch from both waistband pieces.
If you want the band to come in a little bit like the current look of this top, calculate 85 - 90% of your new bodice width and remove the excess from your bands. Note that because we haven’t sewn anything together yet, we don’t need to worry about adding anything for seam allowance.
And that’s it! Assemble the top per the instructions and you should have a look similar to Version 1!

Let’s quickly talk about how I achieved the boxier and longer look for Version 2. All I did was DOUBLE the height of the band (not the width but the height – you will still need to follow the above instructions to calculate your new band width). I used a medium weight sweater knit, and I also did a binding instead of a neckband for a dressier look. The free curved hem tank pattern has instructions on how to do a binding, or you can check out E&M on YouTube where there is a tutorial available.

If you are looking for a shorter top but something a little more fitted than the Oversized Tee, I hope you give this hack a try! ALSO – you could easily do this same set of modifications on the Fall in Love sweater to achieve the same look with traditional sleeves versus raglan. And I couldn’t help myself – so here is my version! I did version 2 with the wider band. And is sure is love!

Enjoy!
(Written by: Andrea Mulford)
(This post contains my affiliate links)